Monday, June 4, 2012

A Perfect Party

I couldn't figure out what to title this post..."One Down, One to go," "Wheh," "The Party's Over"...it was such a great day and everything turned out so well, I have to say, it was a perfect party. As you may know, my son graduated on Friday and we wanted to throw a party worthy of the celebration. I had the help of my neighbors and in-laws--everyone took a small chunk of my worries away and God provided such incredible weather. Below, the guest of honor serves up some fun...
When my oldest son graduated three years ago, we threw a combination party with three other neighborhood kids and it was great. This time we were on our own and I wanted it to be just as nice, but without three other families, we couldn't afford a band and caterers. No worries.
My husband rigged up the speakers and my oldest son came up with a playlist for music. I began cooking three days ahead and my neighbor made his famous Carolina pulled pork (awesome). My mother- and father-in law helped me clean and provided dozens of cookies. We set up volleyball, corn hole and just let the day take its course. Guests came and stayed long after the party ended (which was fine as it was a lunch party).
Here are some decoration highlights:
Before the party...all ready to go!

Banner created out of maps (since my son will be traveling this year).


Centerpieces - simple flower pots and again the map theme.


Food was also relatively simple -- loads of fruit, pulled chicken and pork, pasta salad, Mandarin orange green leaf salad and tons of desserts -- cookies, oreo cookie truffles (easy to make) and of course, Sam's Club creme puffs.

A few scenes of guests having fun...


My father-in-law (left) and my dad... 

Friday, June 1, 2012

A New Chapter

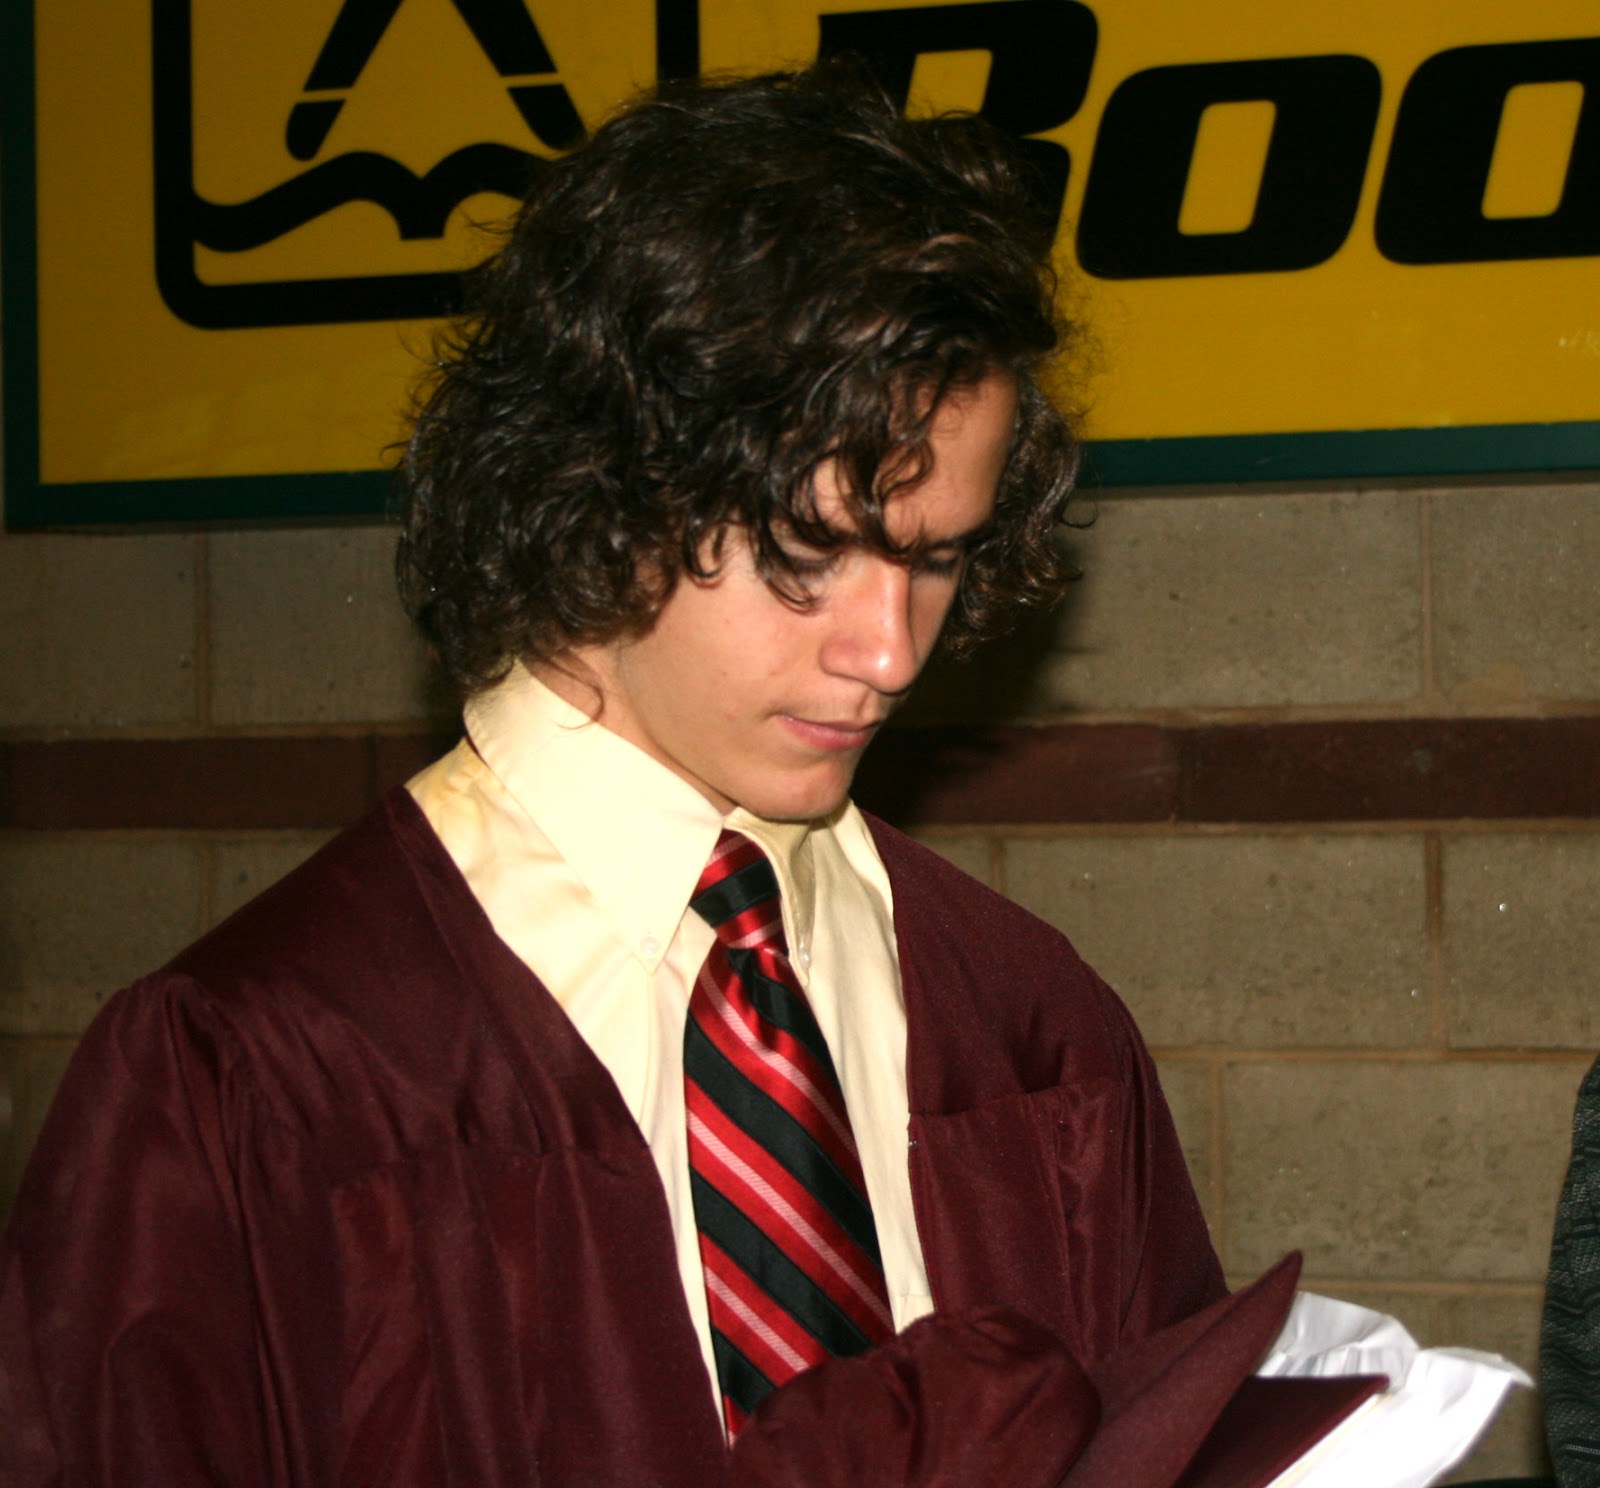
My middle son graduated high school today. So, closes another chapter on the story called "Growing Up." I recently posted about my son on his 18th birthday. He continues to amaze me and make my life interesting. He has decided to postpone college for a year. He wants to work for about 8 months and then "explore the world." Right now, he plans on traveling to Eastern Europe - Poland will be one of his stops so he can explore his ancestry. He decided that he would go now because he doesn't want to waste his or our money on college when he really has no clue what he wants to do with his life. He said that now is the time to travel before he has to take on responsibilities. I like his thinking. Congrats bud! You made us proud once again.

Wednesday, May 30, 2012

A Mini Tutorial: Photo Transfers for Sis

Just got back from Hershey Park...a day long field trip with my son and his fifth grade class. I'm smelly, exhausted and my voice is gone...but, hey, I had fun! And so did my son and that's what it's all about!
So, last night I wrote this post to share with you all....
For my sister's 50h birthday, I made and bought 50 presents and wrapped them for her to open...so she would have 50 days of presents! (She gave me the idea on my birthday.) Anyway, for two of the presents, I created photo transfers...one on canvas and one on a wood block. The process was a little tougher than I expected and I had to recreate the canvas one twice because I actually rubbed my nephew's face off on the first one...couldn't have that!
 These are the results. After the transfer was complete, I painted the edges and then dry brushed paint in spots that I felt needed to be filled. I also added papers, quotes, and stamped images and words on top to create a cool collage effect. I really love how they turned out -- each one a surprise!
To create a photo transfer, you will need to print a photo on regular paper (remember the image will be reversed). Paint gel medium on your surface (wood or canvas) and then smooth the print onto the surface, making sure all bubbles are out. Leave this over night. In the morning (or whenever), dampen the surface and begin rubbing off the paper with your fingers...carefully. You may have to do this more than once to get all of the paper off (I actually left some paper on in sections for texture.) Then paint, stamp, add embellishments if you want. Let dry and apply a matte coating of Mod Podge. That's it...have fun!


A Little Knick Knack

Sunday, May 27, 2012

So What are These?


Well, I know they are bottles...My son found them in Massachusetts. He said there were a lot of them and brought three home for me. I've never seen any quite like them. Has anyone else? If you know what they are, please let me know. They have unusual caps on them, too.


Meanwhile, I've been on the go... school activities, field trips, graduation parties, soccer tournaments, etc. I'm also busy preparing for my son's graduation party next week. Finally decided on the menu...I'm making pulled chicken and my neighbor is making pulled pork (his special recipe) for me. Plus fresh fruit,  pasta and a super good watermelon/mint salad...so refreshing!

Thursday, May 24, 2012

18 Years of Adventures

Today is my middle son's 18th birthday! I'm not that old...I had him when I was 10.
Anyway, he's the guy that I've mentioned a lot in my blog, here and here, because he is one of a kind. Aren't they all?
So, Nolan, I just want to thank you for bringing to my life (in this order), everything I ever wanted to know about:

  • having a second child
  • having a rather large and hungry baby
  • trains
  • trains again
  • insects
  • sharks
  • interesting ways to use permanent markers (see photo)
  • having a huge heart
  • scary things
  • snakes
  • Pokemon
  • patriotism
  • art camp
  • different perspectives
  • determination
  • soccer 
  • InterMilan
  • hockey
  • persistence
  • commitment
  • character
  • organic foods
  • the Paleo diet


Wednesday, May 23, 2012

I won!

I opened my mail box and found this today!!
I entered a Mother's Day giveaway at NiceGirlNotes and won a wonderfully soothing group of  Maclauren bath products!


So, I'm sitting here sweating after my zumba class and can't wait to use them (and my family can't wait either). Yes, I take a zumba class (mostly as a form of entertainment for the rest of the class) and it really makes me sweat, which means that I'm getting in shape.
Right?

So, thank you Roo for sending me this little luxury!! Call me weird, but I actually like the bag holding the products as much as the products.

And if you haven't visited NiceGirlNotes, you are missing out big time! Roo is really funny.

Monday, May 21, 2012

How to Make Mountains

He finished! My son has been very busy creating his fifth grade state float. He chose the state of Maine because we have so many happy memories of hiking and sea glass hunting there. He decided to focus on Arcadia National Park (even though we've never actually been to that part of Maine). He wanted to make mountains...and I showed him an easy peasy way to make them. Sure, we could create them out of plaster of paris, but ugh, no time. So, I'll share a secret...he created them out of paper bags!


Here's how:
1. Take a paper bag ...we used lunch bags -- white and natural.
2. Twist it to make it pliable.
3. Straighten it out and then twist the top to make it pointy and then crumple it a bit to shape it like a rocky mountain.
4. Cut slits about an inch around the bottom...this is the part you will glue down to your surface.
5. Then glue it! Ta da! Mountains.

By the way, he did it all himself...I supervised and offered advice. I also superglued the lobsters to the side because I didn't want him gluing his fingers together! Now, cross your fingers that we get it to school in one piece!